Typically, iPhones are cycled 500-600 times, and their battery life varies depending on usage habits.
As your iPhone’s battery gradually wears down, you may experience more frequent recharging, unexpected shutdowns, and a decrease in overall performance.
Apple recommends replacing your battery when iOS shows that battery performance is below 80%.
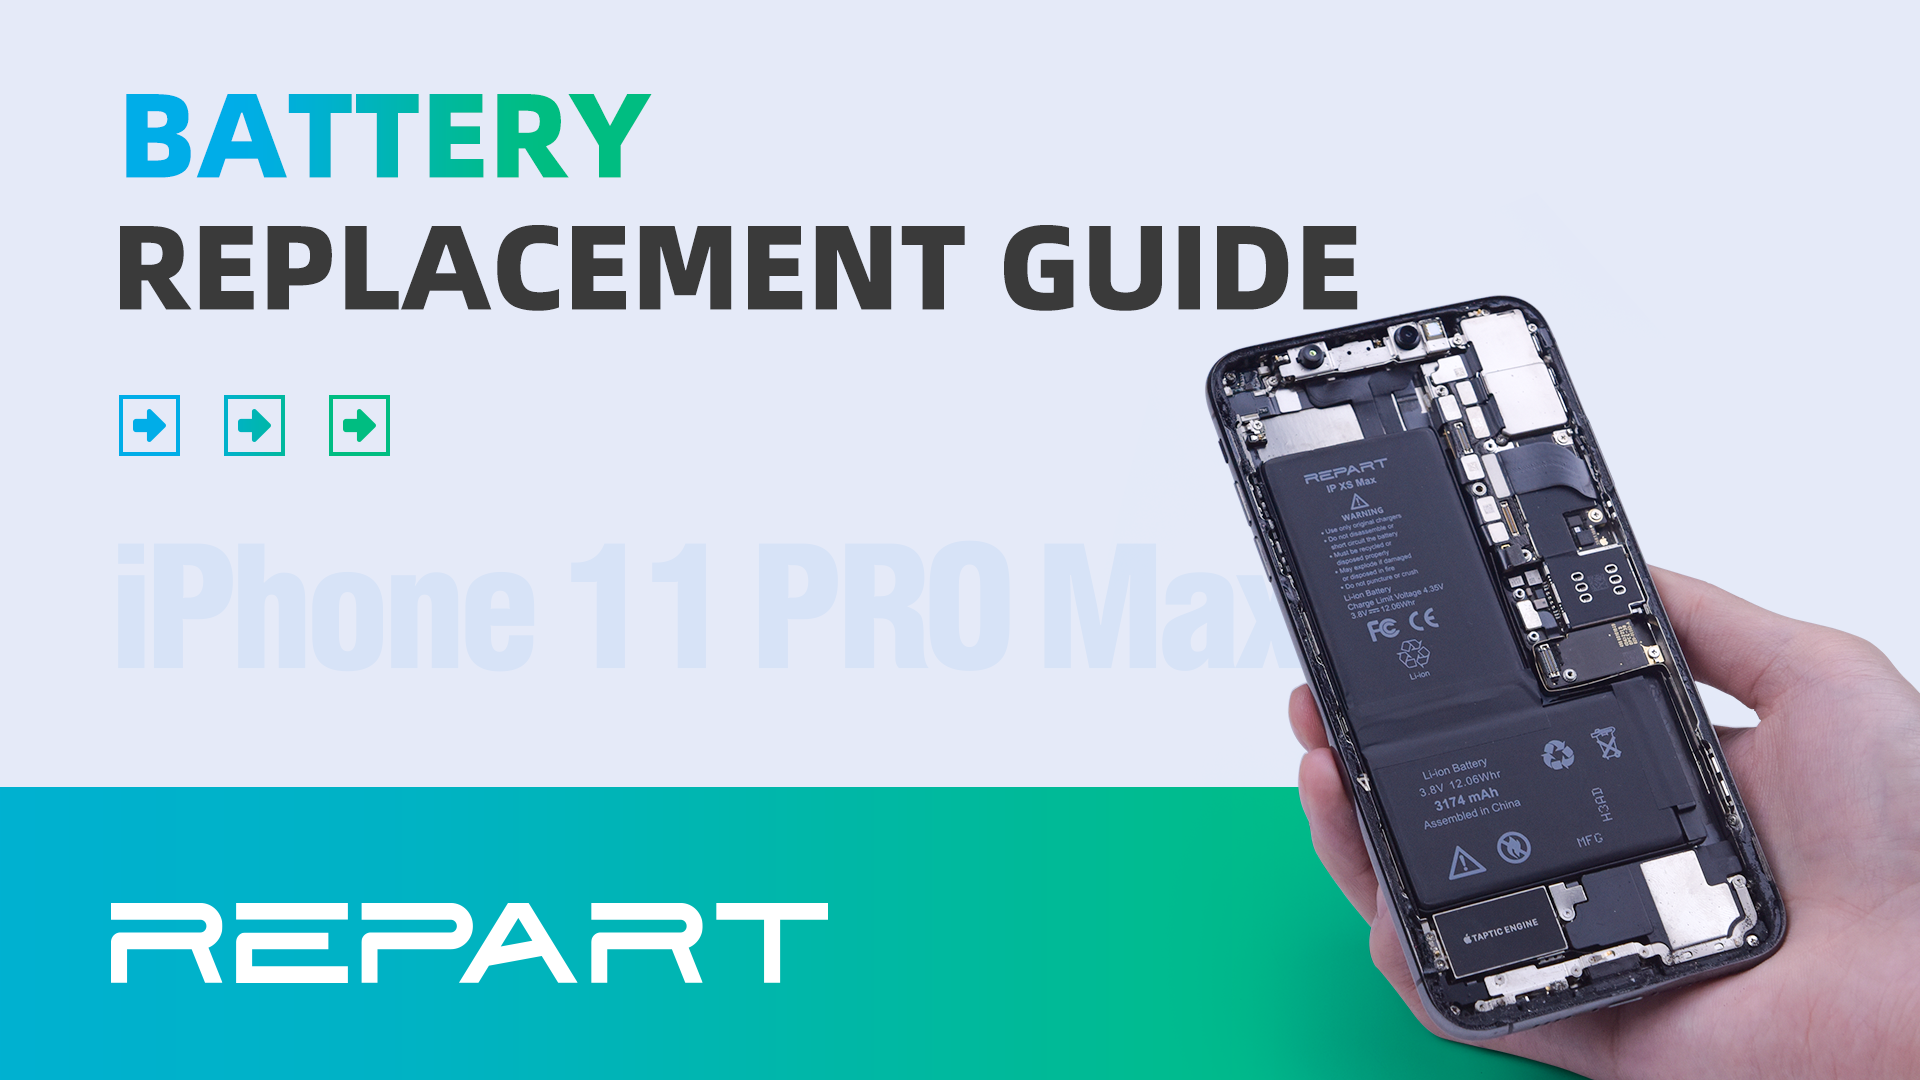
In this comprehensive guide, we’ll use the iPhone 11 Pro Max as an example to walk you through the exact steps of replacing your battery with a high-quality REPART battery.
Step-by-step Guide
Step 1: Check Battery Health First, navigate to your phone’s settings and locate “Battery Health” to assess your battery’s condition. If your battery health is low, it’s time for a replacement. Before proceeding, long-press the power button to turn off your phone.
Step 2: Detach and Remove the Screen
- Unscrew the bottom screws using a pentalobe screwdriver, ensuring you keep track of them.
- Use a heating pad at approximately 90°C to soften the screen edge glue for 2-3 minutes.
- Secure the screen in place with a clamp, and use suction cups to gently separate the screen from the phone.
- Carefully lift the screen and disconnect the battery.
Step 3: Remove the Old Battery and Adhesive Residue
- Unscrew the battery protection
- Gently disconnect the battery and remove the battery protection ironshield.
- Use tweezers and a littlealcohol to remove the battery adhesive residue.
Step 4: Install the Replacement Battery
- Take out the new battery and remove the protective film from the adhesive.
- Attach the adhesive to the battery and press firmly.
- Install the new battery, connect well with the battery connector
- Reassemble the charging port and fix the shielding plate
- Reassemble the screen, ensuring all connectors are secure.
Step 5: Power On and Test the Battery Function
- Turn onthe phone and perform battery-related tests, including wired and wireless charging.
- As we preserved the original waterproof adhesive during screen removal, there’s no need to install additional waterproof adhesive.
